 how-to
How to Integrate Biometric Readers With Existing Access Control
Last Updated: October 29, 2026
Quick Summary
Most biometric readers can work with an existing access control system if the reader sends a credential signal the panel understands and the panel accepts it for that door. Check output format, OSDP version, software support, licensing, template storage, and power before ordering hardware.
- Confirm the Wiegand bit length and facility code match the panel's input before ordering.
- Check that the access control software lists the reader model as supported.
- Verify enough reader or door licenses exist, since upgrades can need lead time.
- Choose where templates are stored: reader, panel, server, or card.
- Run a two-week pilot with 10 to 20 users before full rollout.
Table of Contents
- What Biometric Access Control Adds to an Existing System
- Checking Biometric Reader Compatibility With Access Control Panels
- Access Control System Integration Checklist
- Biometric Access Control Wiring and Configuration Steps
- Setting Up Multifactor Authentication for Door Access
- Testing, Commissioning and Fallback Access Planning
- Booking Your Integration Assessment With Mt. Major Tech
- Frequently Asked Questions
Most commercial buildings grew their security piecemeal: a camera system, a card-based access control panel later, and a biometric reader added last year by a different vendor.
Most biometric readers can work with an existing access control system, but only if the reader and panel speak a compatible output format: the reader must send a credential signal the panel understands, and the panel must accept it for that door.
What Biometric Access Control Adds to an Existing System
Biometric access control verifies a person by a physical trait, such as a fingerprint or face, instead of only a card or PIN.
The main gains are straightforward:
- Stronger identity checks at server rooms, labs, and restricted areas
- Fewer shared cards, since a person cannot easily hand a fingerprint to a coworker
- Faster entry at high-traffic doors once users are enrolled
You do not need to replace the whole system to get these benefits. Many teams add biometric readers only at the highest-risk doors and keep card readers everywhere else.
Checking Biometric Reader Compatibility With Access Control Panels
Compatibility is a chain of checks across the reader, controller, access control software, and credential format. A reader that works with one panel can fail completely with another, even when both are sold as "Wiegand compatible." Work through these checks before ordering hardware.
Step 1: Inventory the Existing System
Pull the make, model, and firmware version of every controller, reader, and door interface. Do not rely on the original install binder, systems get swapped and firmware updated without documentation. Walk the doors and photograph each label. Record:
- Controller make, model, firmware version, and number of reader inputs per panel
- Existing reader type (proximity, mag stripe, keypad) and output format
- Access control software name, version, and license tier
This inventory is the foundation for every later check.
Step 2: Verify Reader Output and Controller Input
Confirm the output format on both sides:
- Wiegand bit length and facility code: Most panels accept 26-bit Wiegand, but 34-bit, 37-bit, and proprietary formats are common. If the reader sends 34-bit and the panel expects 26-bit, the panel will reject the credential or truncate it to the wrong ID.
- OSDP version and secure channel: If the reader uses OSDP, confirm the panel supports the same OSDP version and whether secure channel (encrypted) mode is required. A panel that only supports OSDP v1 may not accept a v2 reader in secure mode.
- Ethernet or API integration: Some readers connect over the network and pass credentials through a vendor API. Confirm the access control software supports that API and that the license includes the integration module.
Step 3: Check Software Support and Licensing
The panel may accept the reader's signal while the software refuses to manage it. Confirm:
- The software lists the reader model as supported, or the vendor confirms compatibility in writing
- The license includes enough reader or door licenses for the new hardware
- The software can assign the reader to a door, schedule, and access group
Licensing is the most commonly missed cost: a panel that supports 16 readers may have a license for only 8, and adding readers can require a paid upgrade with lead time.
Step 4: Confirm Credential and Template Handling
Decide where biometric templates live and how the panel sees the credential:
- Match-on-reader: The reader stores templates and sends a card-style ID to the panel. The panel never sees biometric data, which simplifies privacy compliance but means template backup and reader replacement are your responsibility.
- Match-on-panel or server: Templates are stored centrally and the reader sends a raw biometric sample. This requires a compatible reader-panel pair and raises data-protection obligations.
- Match-on-card: The template lives on a smart card the user presents. This avoids central storage but requires card readers that support the template format.
Each model changes what the panel must support and where your privacy obligations sit. Confirm it before purchase; switching later usually means replacing hardware.
Step 5: Verify Power, Wiring, and Physical Fit
Compatibility includes the physical layer:
- Confirm the reader's voltage and current draw match the panel's reader power output or that a separate power supply is specified
- Check the wiring gauge and maximum cable run the manufacturer allows; long runs on thin cable cause intermittent reads
- Confirm the reader fits the existing mounting pattern or that an adapter plate is available
Compatibility Checklist
Use this checklist to document each door before ordering:
- Controller make, model, firmware recorded
- Reader output format and bit length confirmed against controller input
- OSDP version and secure channel mode confirmed, if applicable
A thorough review takes a few hours per door; skipping it can cost weeks of rework and a second hardware purchase.
Before ordering hardware, the article's compatibility review covers each link in the chain, from output format to power and mounting.
| Check | What to confirm | Common failure |
|---|---|---|
| Reader output format | Bit length and facility code match panel input | Panel rejects or truncates the credential |
| OSDP version | Panel supports the reader's version and secure mode | Reader fails to connect in secure mode |
| Software support | Software lists the reader model as supported | Panel accepts signal but software won't manage it |
| Licensing | Enough reader or door licenses for new hardware | Upgrade needed, with lead time |
| Template storage | Reader, panel, server or card model chosen | Costly hardware replacement after purchase |
| Power and wiring | Voltage, current, gauge and cable run match specs | Intermittent reads on long or thin cable runs |
Access Control System Integration Checklist
Use this checklist before and during the project:
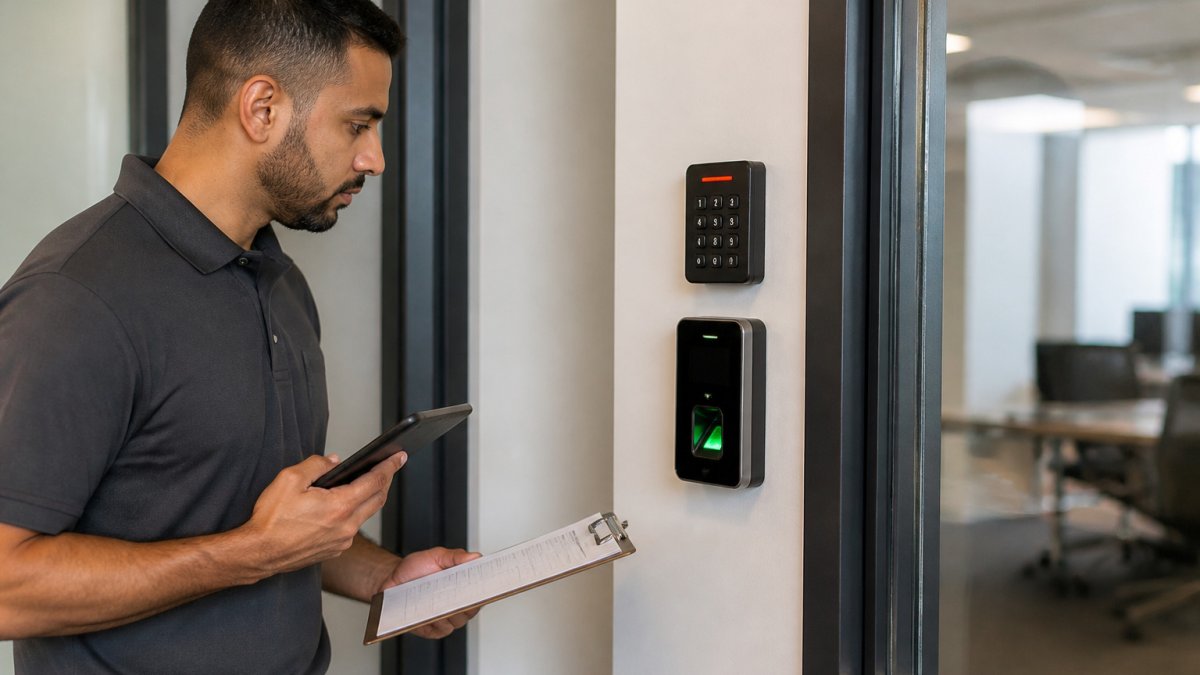
- List every door, panel, and reader currently installed
- Record make, model, firmware version, and output format for each
- Confirm the panel supports the new reader's protocol
Biometric Access Control Wiring and Configuration Steps
Installation follows a clear order; rushed wiring is the most common cause of intermittent faults.
- Mount the reader at the height and location your standards require, away from direct sun and heavy vibration.
- Run the cable using the gauge and length the manufacturer specifies. Keep data lines separate from door strike power wires.
- Connect power and the data lines to the panel's reader input, matching the output format you confirmed earlier.
- Set the reader address and format in the reader's configuration tool.
- Map the reader to the door in the access control software.
- Enroll a test user and confirm the panel grants and denies access correctly.
- Set schedules and permissions for each user group.
- Log the configuration so the next technician can find what was changed.
Watch out: if the reader and panel fall out of sync after a firmware update, doors can lock out staff. Test a fallback path before every update.
Setting Up Multifactor Authentication for Door Access
Biometrics work well as one factor, but many organizations pair them with a second factor for sensitive doors, a card plus a fingerprint, or a PIN plus a face scan. Review best practices for managing employee access credentials before setting these rules.
Configure this in the access control software by setting the door's credential rule to require both factors. Reserve two-factor rules for server rooms, data closets, and similar areas, they slow traffic everywhere else.
Plan enrollment too: users must enroll their biometric template and their card or PIN. Set a clear process for new hires, departures, and lost cards, and remove biometric records when someone leaves.
Testing, Commissioning and Fallback Access Planning
Testing is where an integration proves itself or exposes problems that would otherwise surface during a fire drill, shift change, or network outage. Commissioning should follow a defined sequence with measurable pass criteria, and fallback planning should be written before the first reader goes live.
Run a Pilot Before Full Rollout
Select one or two doors that represent your hardest cases: the highest-traffic door, the exterior door, or the door with the oldest panel. Enroll a pilot group of 10 to 20 users including people with worn fingerprints, glasses, or gloves, since they stress the reader more than ideal conditions do.
Run the pilot for at least two weeks. That captures weekly schedules, at least one firmware or software event, and enough traffic to expose intermittent faults a one-day test misses.
Define Measurable Acceptance Criteria
Agree on pass criteria before the pilot starts, so the rollout decision rests on data rather than opinion. Reasonable starting targets:
- Match rate: At least 95 percent of legitimate attempts succeed on the first or second try under normal conditions
- False rejection: No more than 5 percent of legitimate attempts fail after two tries
- False acceptance: Zero unenrolled users granted access during the pilot; any false acceptance is a stop-ship event
Adjust the numbers to your risk tolerance, but write them down, "it seemed to work" is not an acceptance criterion.
Commissioning Sequence
Commission each door in this order:
- Bench test: Connect the reader to the panel on a bench or at the door before final mounting, and confirm the panel receives the correct credential ID.
- Enrollment test: Enroll two or three users and confirm grant and deny decisions in the software.
- Schedule test: Assign a schedule and confirm the door locks and unlocks at the configured times.
- Failure test: Disconnect the reader, cut power, and disconnect the network one at a time, and confirm the door behaves as designed for each failure.
- Load test: Run peak-hour traffic through the door and watch for delays or read failures.
- Audit test: Confirm every event appears in the log with the correct user, door, and timestamp.
- Sign-off: Record the configuration, firmware versions, and test results for the next technician.
Fallback and Failure-Mode Planning
Every biometric door needs a documented answer for four failure modes:
- Reader failure: A backup card reader, keypad, or mechanical key override lets authorized users through while the reader is repaired.
- Network or server failure: If templates are stored centrally, decide whether the reader caches templates locally so the door keeps working offline, and confirm how long the cache lasts.
- Power failure: Confirm whether the door is fail-safe (unlocks on power loss) or fail-secure (stays locked), and verify that choice matches fire code and egress requirements.
Write the fallback procedure down, post it at the door or in the security office, and train the staff who will use it. An outage is not the time to discover no one knows the override.
Privacy and Data Handling at Commissioning
Biometric data is sensitive, and commissioning is the right time to lock down handling:
- Decide where templates are stored and confirm they are encrypted at rest and in transit
- Limit template access to the smallest group of administrators who need it
- Set a retention period and deletion procedure for departing users
These steps are easier to build in at commissioning than to retrofit after an audit or complaint.
Post-Install Review
Schedule a review at 30 and 90 days after go-live. Check match rates against pilot targets, review help-desk tickets, confirm firmware is current, and update the fallback procedure if anything changed. A system that passes at commissioning can drift as users, schedules, and firmware change.
Booking Your Integration Assessment With Mt. Major Tech
Integrating biometric readers with an existing system is easier with a clear plan. Mt. Major Tech provides advanced security integration services and ongoing technical support.
To start, book online.
Frequently Asked Questions
Can biometric readers work with existing access control panels?
In many cases, yes. Most biometric readers can connect to an existing panel if the panel accepts a standard card-ID output such as Wiegand, or if the reader supports the panel manufacturer's protocol. Compatibility depends on the panel model, its firmware, and the reader's output format, so check both documents before buying hardware. If the panel cannot accept the reader's output, an interface module or a controller upgrade may be needed.
Can biometric access control use a card or PIN as a backup?
Yes. Most systems can be configured so a reader accepts a card, PIN, or biometric credential, either alone or combined. Using a card or PIN as a fallback keeps people moving when a fingerprint is hard to read, such as with wet or damaged skin, or when a sensor fails. Set the fallback rule in the access control software, decide who may use it, and log every fallback use so administrators can review it. Confirm the fallback method during planning rather than after installation.
How do you test a biometric reader after installation?
Test each door under real conditions. Enroll several test users, confirm that each one is accepted and denied when expected, and check the response time at the door. Verify that the reader sends the correct card-ID or credential data to the panel and that the panel logs the event. Test the fallback credential, a loss of network connection, and a power interruption. Record the results against written acceptance criteria so you can show the system works before handover.
What are the security and privacy risks of biometric access control?
Biometric data is hard to change if it is exposed, so storage and transmission matter. Risks include weak template storage, false acceptance and false rejection errors, and poorly controlled enrollment records. Reduce them by storing templates rather than raw images where the system allows, encrypting data in transit, limiting administrator access, setting a retention period, and documenting how users consent to enrollment. Review the vendor's data handling terms and your own obligations under applicable state privacy laws before enrolling staff.