 how-to
How to Integrate Smart Home Devices With Professional Security
Table of Contents
- Why Integrate Smart Home Devices With Professional Security
- Smart Home Security Compatibility Checklist
- Step-by-Step Integration Process
- Securing IoT Devices on Home Networks
- How Long Does Unified Security Integration Take?
- Troubleshooting Connectivity Conflicts and Legacy System Integration
- Frequently Asked Questions
Last Updated: October 1, 2026
Why Integrate Smart Home Devices With Professional Security
Learning how to integrate smart home devices with professional security starts with one fact: convenience devices and life-safety systems are built to different standards. Connect them and you get one dashboard instead of five apps.
Smart Home Security Compatibility Checklist
A smart home security compatibility checklist is a pre-installation audit that confirms your devices can talk to each other before you buy anything. Skipping it is the most common and most expensive mistake we see. Run these checks first:
- List every existing device: cameras, locks, sensors, panels, thermostats
- Note each device's protocol: Wi-Fi, Z-Wave, Zigbee, or hardwired
- Confirm which devices support API integration or third-party control
- Check whether your current hub or gateway can manage all protocols
- Verify power: hardwired, battery, or PoE for each device
- Review firmware update history for each device
- Confirm your network can handle the added traffic
- Check data privacy terms for every cloud-connected device
Protocols and Communication Standards
Z-Wave and Zigbee are the two mesh network standards built for smart home devices. Each device strengthens the signal for the others. Wi-Fi devices are simpler to set up but strain your router as you add more.
Hub and Gateway Requirements
A hub is the brain that translates between protocols. A gateway connects that hub to the outside world. Some systems combine both in one box.
Step-by-Step Integration Process
The integration process has three phases: assess what you own, choose a control platform, then connect and automate. Plan a structured rollout, not a single afternoon of plugging things in.
Step 1: Assess Your Existing Security Infrastructure
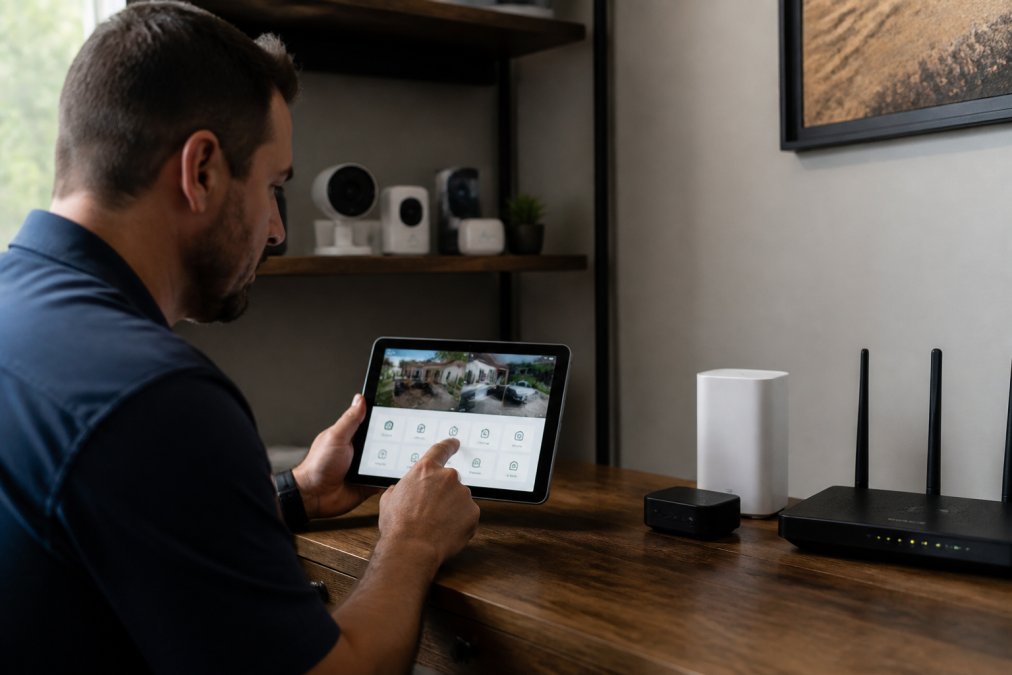
Start by mapping what you already have: every device, its age, its protocol, and whether it still receives firmware updates. Devices that no longer get updates are a weak point.
Step 2: Choose a Centralized Control Platform
Pick a platform that supports the protocols your devices use. Ask three questions:
- Does it support local processing, cloud processing, or both?
- Can it integrate legacy panels through a bridge or module?
- Does it offer an open API for future devices?
Step 3: Connect Devices and Configure Automation
Add devices one at a time and test each before moving on. Then set your automation rules:
- Geofencing: arm the system when the last phone leaves
- Event-based triggers: a door sensor triggers the nearest camera
- Schedules: lights and locks follow a daily pattern
- Real-time alerts: push notifications for priority events only
Securing IoT Devices on Home Networks
Securing IoT devices on home networks means treating every connected device as a possible entry point, and your router, not your hub, as the real security boundary. Changing the default password matters, but it does nothing about a compromised camera pivoting laterally to the laptop that holds your tax returns. Network segmentation stops that pivot.
Segment IoT Traffic With a VLAN or Guest Network
A VLAN (virtual local area network) splits one physical router into logically separate networks: your cameras, locks, and hubs on one segment, your phones, laptops, and NAS on another. If a camera is compromised, the attacker sees other IoT devices but cannot reach your personal machines. Not every consumer router supports true VLANs; the practical tiers are:
- Guest network (entry level): Most modern routers offer this, isolating IoT devices from your main LAN, but many guest networks block device-to-device traffic entirely, which breaks hubs that need to talk to their sensors. Test before you commit.
- Router-level VLANs (mid tier): Routers running open or prosumer firmware let you define tagged VLANs and assign each SSID to a VLAN. This is the sweet spot for a serious home setup.
- Managed switch + firewall (advanced): A managed switch trunked to a firewall or a router with inter-VLAN rules gives you the segmentation model small businesses use, where you can write explicit allow/deny rules between segments.
Write Firewall Rules, Not Just Passwords
Once devices are segmented, you decide what crosses the boundary. A common pattern:
- Default deny between the IoT VLAN and the trusted LAN.
- Allow specific outbound flows the device actually needs (for example, a camera that streams to a cloud service needs outbound HTTPS to that vendor's endpoints).
- Allow inbound only from your control device, your phone or hub, on the ports the app uses.
- Block inbound from the internet unless you have deliberately set up a VPN.
Handle the Multicast Problem
Segmentation breaks discovery protocols. mDNS/Bonjour, SSDP, and some Zigbee/Z-Wave hub discovery methods rely on multicast that does not cross VLAN boundaries by default, so "the app can't find the device" even though it is online. Fix it with an mDNS repeater on the router, or place the hub and its paired devices on the same VLAN while restricting only the hub's outbound traffic.
The Rest of the Hardening Stack
- Credentials: Unique username and password per device. Never reuse your router admin password on a camera.
- Two-factor authentication: Enable it on every vendor account and on the router admin login.
- Firmware: Put firmware updates on a calendar, quarterly is a reasonable default, rather than waiting for a failure.
- Encryption: Prefer devices that support WPA3 on Wi-Fi and encrypted local streams (for example, RTSP over TLS or SRTP) where the camera offers it.
- Disable what you don't use: UPnP, remote access, cloud clips, and P2P modes are common default-on features that widen the attack surface.
- Local storage: For sensitive sites, record to a local NVR or NAS instead of a vendor cloud. This also removes the vendor from your footage-retention chain.
Data privacy deserves the same attention as network security. Check where each vendor stores footage, how long they retain it, and whether they share it with third parties. For sensitive sites, local processing and storage keep footage on your property, off someone else's servers.
CISA guidance on securing Internet of Things devices
How Long Does Unified Security Integration Take?
Unified security integration typically takes one to three weeks for a residential property and four to eight weeks for a commercial site, depending on device count, legacy equipment, and network work. Here's how the time usually breaks down:
| Phase | Typical Duration | What Happens |
|---|---|---|
| Assessment | 2-5 days | Device audit and network review |
| Platform selection | 3-7 days | Compare options, confirm compatibility |
| Device connection | 3-10 days | Pair, test, and label each device |
| Automation setup | 2-5 days | Build and test rules |
| Hardening and handoff | 2-4 days | Security settings and training |
Troubleshooting Connectivity Conflicts and Legacy System Integration
Connectivity conflicts usually trace back to four causes: protocol mismatch, radio interference, network overload, or a discovery problem from segmentation. Fix the cause, not the symptom, rebooting a hub hides the cause.
Protocol Mismatch: The First Thing to Rule Out
A device that "won't pair" is often one your hub cannot speak to. Confirm the protocol before spending an hour on the app:
- Zigbee operates on the 2.4 GHz band worldwide and uses a mesh topology, sharing spectrum with Wi-Fi and Bluetooth.
- Z-Wave operates in sub-1 GHz bands (in the U.S., commonly around 908 MHz). It does not collide with Wi-Fi, which is one reason it is popular for locks and sensors.
- Wi-Fi devices are simple to onboard, but each one is a client on your router, and consumer routers often choke past a few dozen clients.
- Thread/Matter is the newer IP-based mesh. Matter is an application layer that can run over Wi-Fi, Thread, or Ethernet. A Matter logo does not guarantee your existing hub supports the specific device type, check the hub's Matter device-type list.
Radio Interference: Zigbee vs. Wi-Fi on 2.4 GHz
Zigbee and Wi-Fi share the 2.4 GHz band. In the U.S., Wi-Fi channels 1, 6, and 11 are the only non-overlapping 20 MHz channels; Zigbee channels 11 through 26 sit at different center frequencies in the same band. The overlap is real:
- Zigbee channels 11-14 overlap heavily with Wi-Fi channel 1.
- Zigbee channels 15-20 overlap with Wi-Fi channel 6.
- Zigbee channels 21-24 overlap with Wi-Fi channel 11.
- Zigbee channels 25 and 26 sit above Wi-Fi channel 11 and are often the cleanest choice in dense Wi-Fi environments.
Signal, Power, and Firmware Checks
Work through this order after protocol and interference are ruled out:
- Distance and topology. Mesh devices need a repeater or another mains-powered device between them and the hub. Battery devices usually do not repeat.
- Power. A weak battery causes dropouts that look like network problems. Mains-powered devices are more reliable mesh nodes.
- Firmware. Mixed firmware versions cause pairing failures. Update the hub first, then the device.
- Discovery across VLANs. If you segmented your network, mDNS/SSDP may not cross the boundary. Enable an mDNS repeater or keep the hub and its paired devices on the same VLAN.
Bridging Legacy Hardwired Panels Into a Modern Platform
Common bridging approaches:
- Dry-contact relay module. The legacy panel exposes zone or siren outputs as dry contacts. A relay module wired to those contacts reports state changes to your smart platform. This is the most universal method and works with almost any panel that has programmable outputs.
- Serial or IP interface module. Many panels support an add-on module that speaks a documented protocol over serial or IP. Your integration platform reads zone status and arm/disarm state directly. This gives richer data than dry contacts but depends on the panel model.
- Alarm-interface bridge. Some integration platforms sell a dedicated bridge for a specific panel family. This is the least wiring-intensive option when your panel is on the supported list.
- Full replacement with a takeover module. When the panel is end-of-life or unsupported, a takeover module lets you reuse the existing hardwired zones on a new panel. You keep the wiring and sensors; you replace the brain.
Frequently Asked Questions
Can I connect my own cameras to a professional monitoring service?
Many professional monitoring services allow you to connect your own cameras if they support standard protocols like RTSP or ONVIF. However, full integration with features like AI analytics and centralized control often requires compatible hardware. A smart home security integration professional can assess your existing cameras and advise whether they can be linked to a monitoring platform or if upgrades are needed for seamless operation.
What are the security risks associated with smart home devices?
Smart home devices can introduce risks such as unencrypted data transmission, weak default passwords, and outdated firmware. These vulnerabilities may allow unauthorized access to cameras or locks. Securing IoT devices on home networks involves using strong unique passwords, enabling two-factor authentication, and isolating devices on a separate VLAN. Regular firmware updates and network monitoring also reduce exposure to potential threats.
Does professional security integration require a hub?
Not always, but a hub or gateway is often recommended for centralized control. A hub enables different protocols like Z-Wave, Zigbee, and Wi-Fi to communicate, allowing automation and unified management. Some cloud-based platforms can integrate devices without a physical hub, but a local hub can improve reliability and reduce latency. The choice depends on your device ecosystem and whether you prioritize local processing or remote access.
How do I secure my smart home devices?
Start by changing default passwords and enabling two-factor authentication on all devices. Use a dedicated network for IoT devices to limit access to your main network. Keep firmware updated and disable unused features like remote access if not needed. For professional-grade security, consider a system with encryption and real-time alerts. A smart home security compatibility checklist can help you verify each device meets these standards before integration.
Most integration failures come from planning gaps, not bad hardware. Mt. Major Tech closes those gaps with AI-enabled surveillance, smart access control, and intrusion defense built into one unified platform, backed by ongoing maintenance so your system stays reliable long after install day. Book online with Mt. Major Tech and get a system that protects your people and assets without adding daily headaches.